Thermal Camera
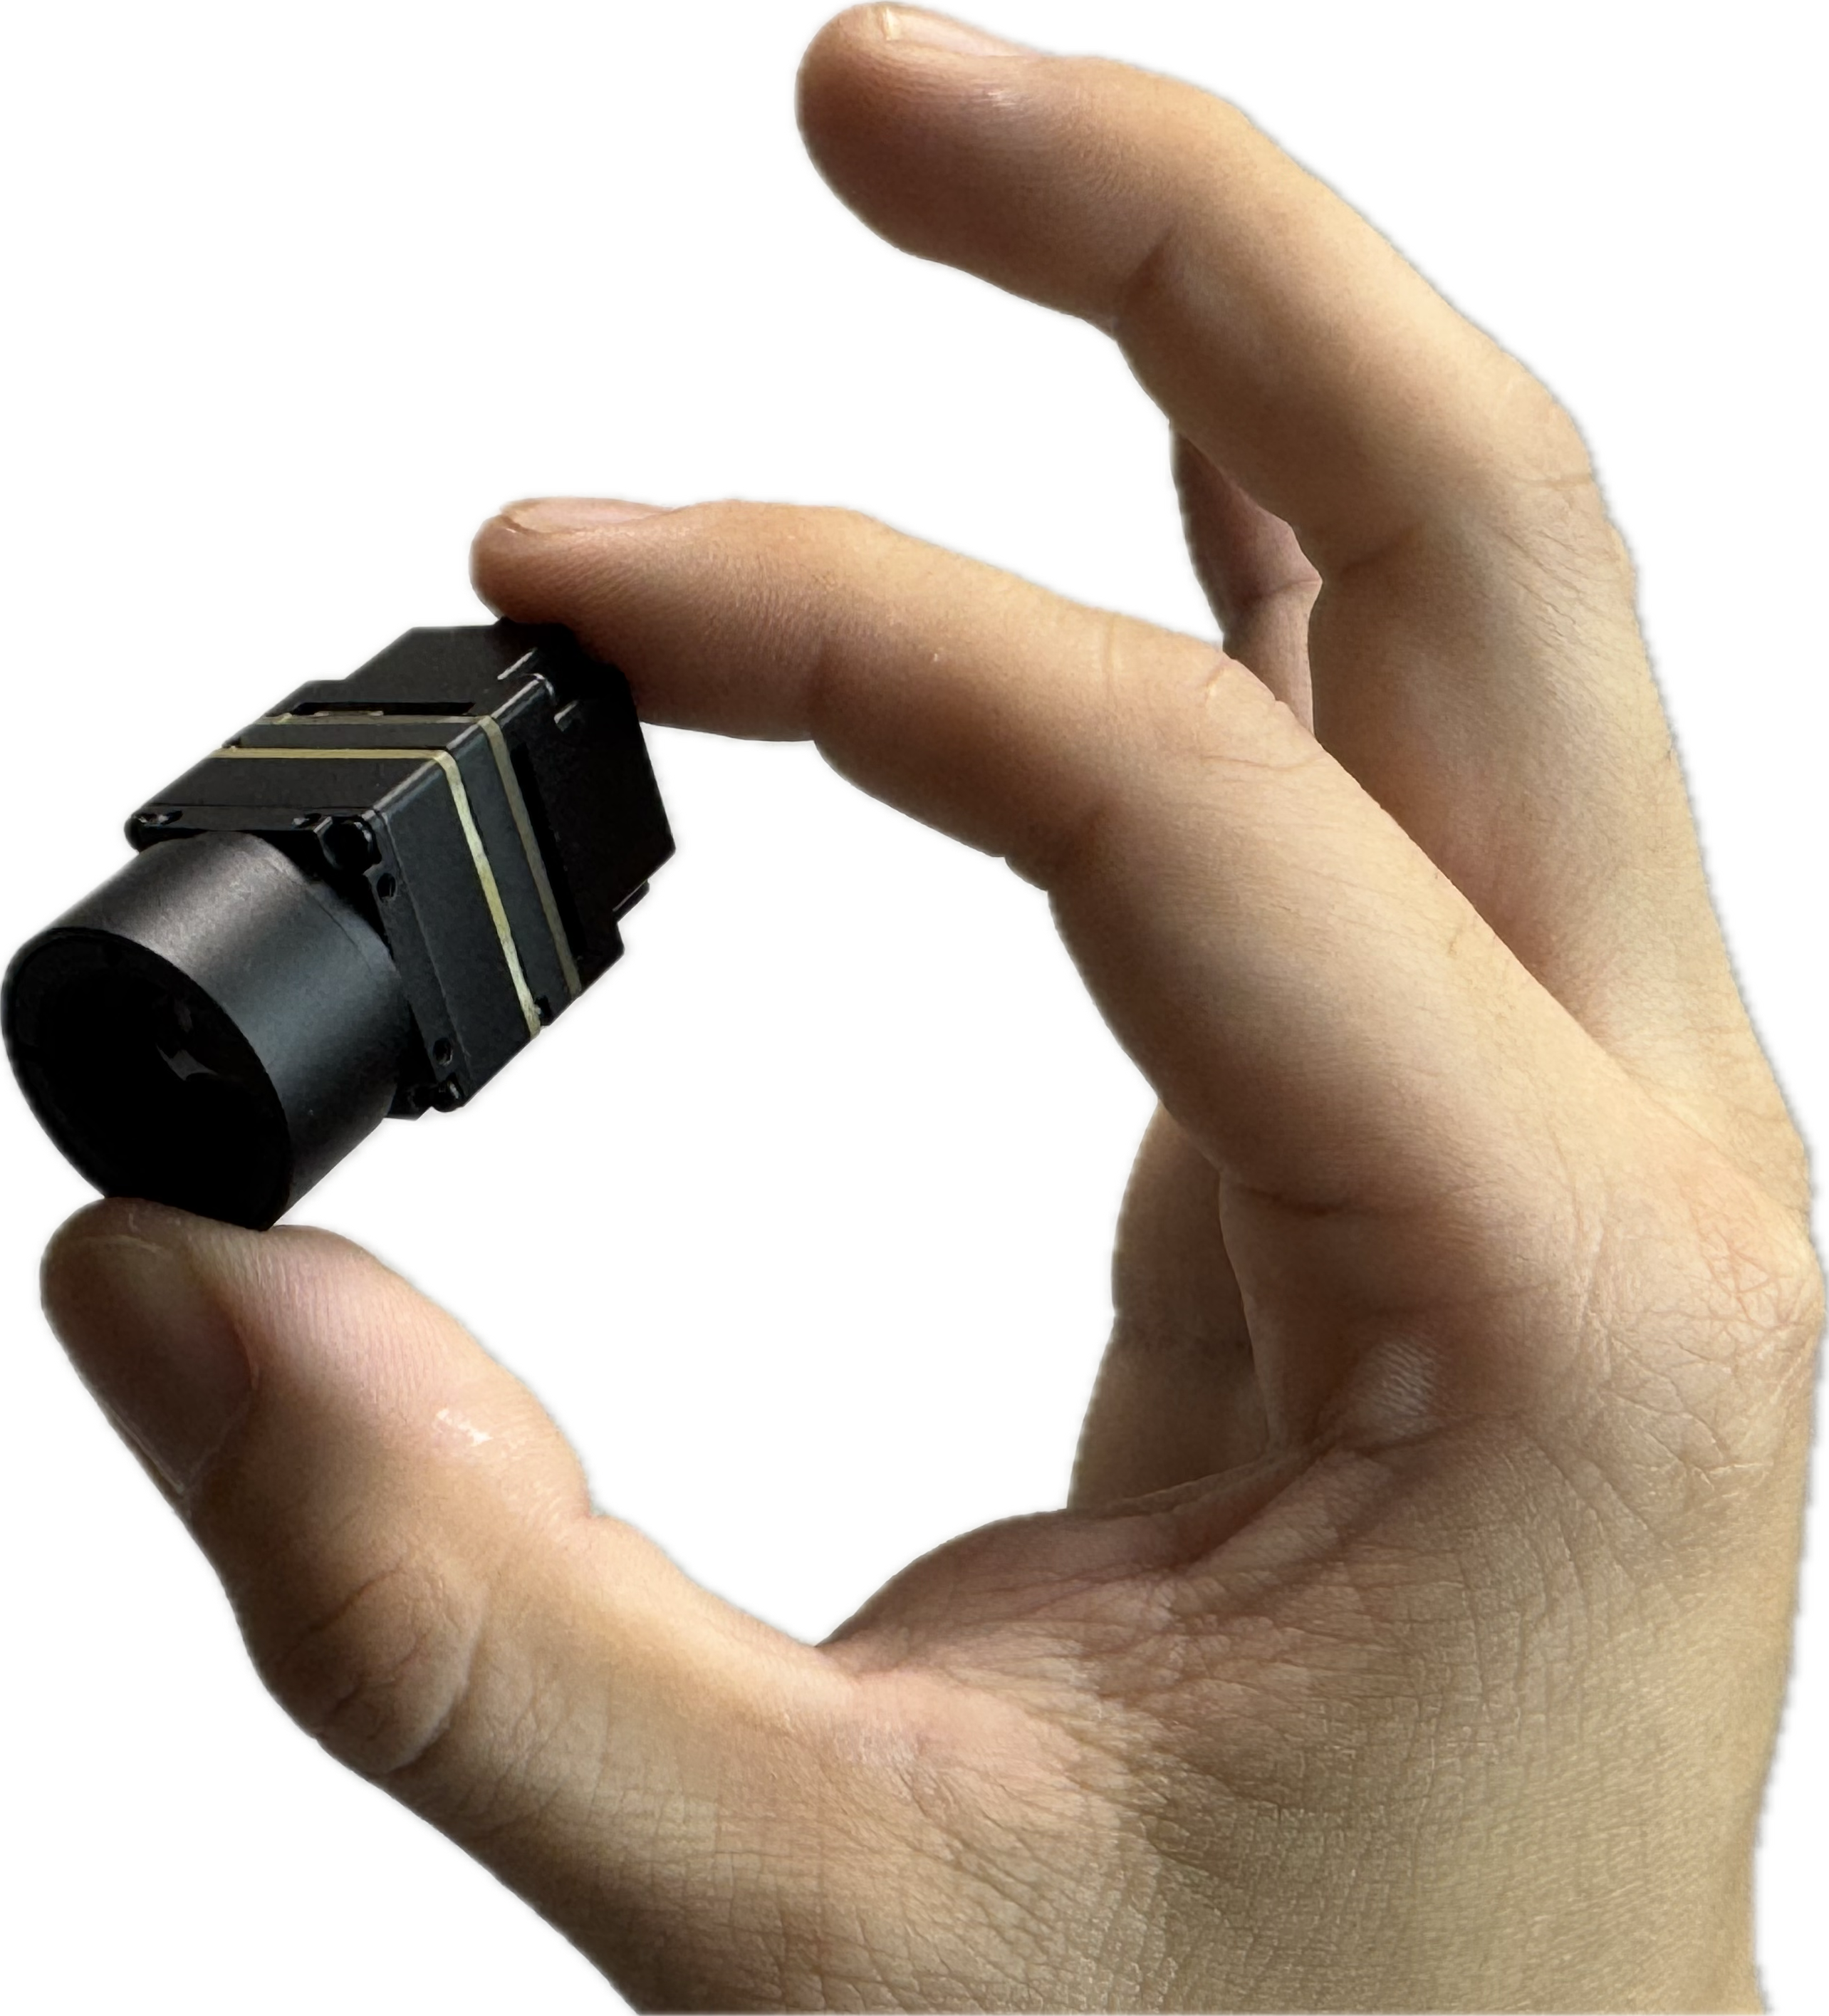
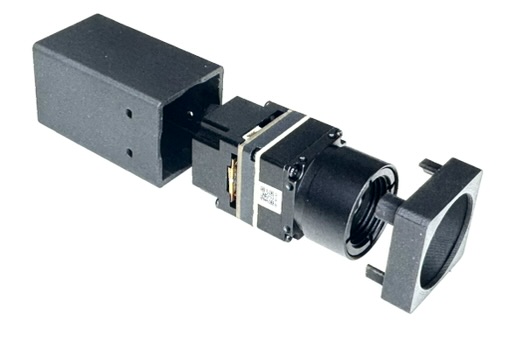
This thermal camera is the camera module with USB type-C interface for versatile development. With the miniature size 20x20x47 mm, it could be useful for application like drone, UGV, hand-held device, or inspection tools.
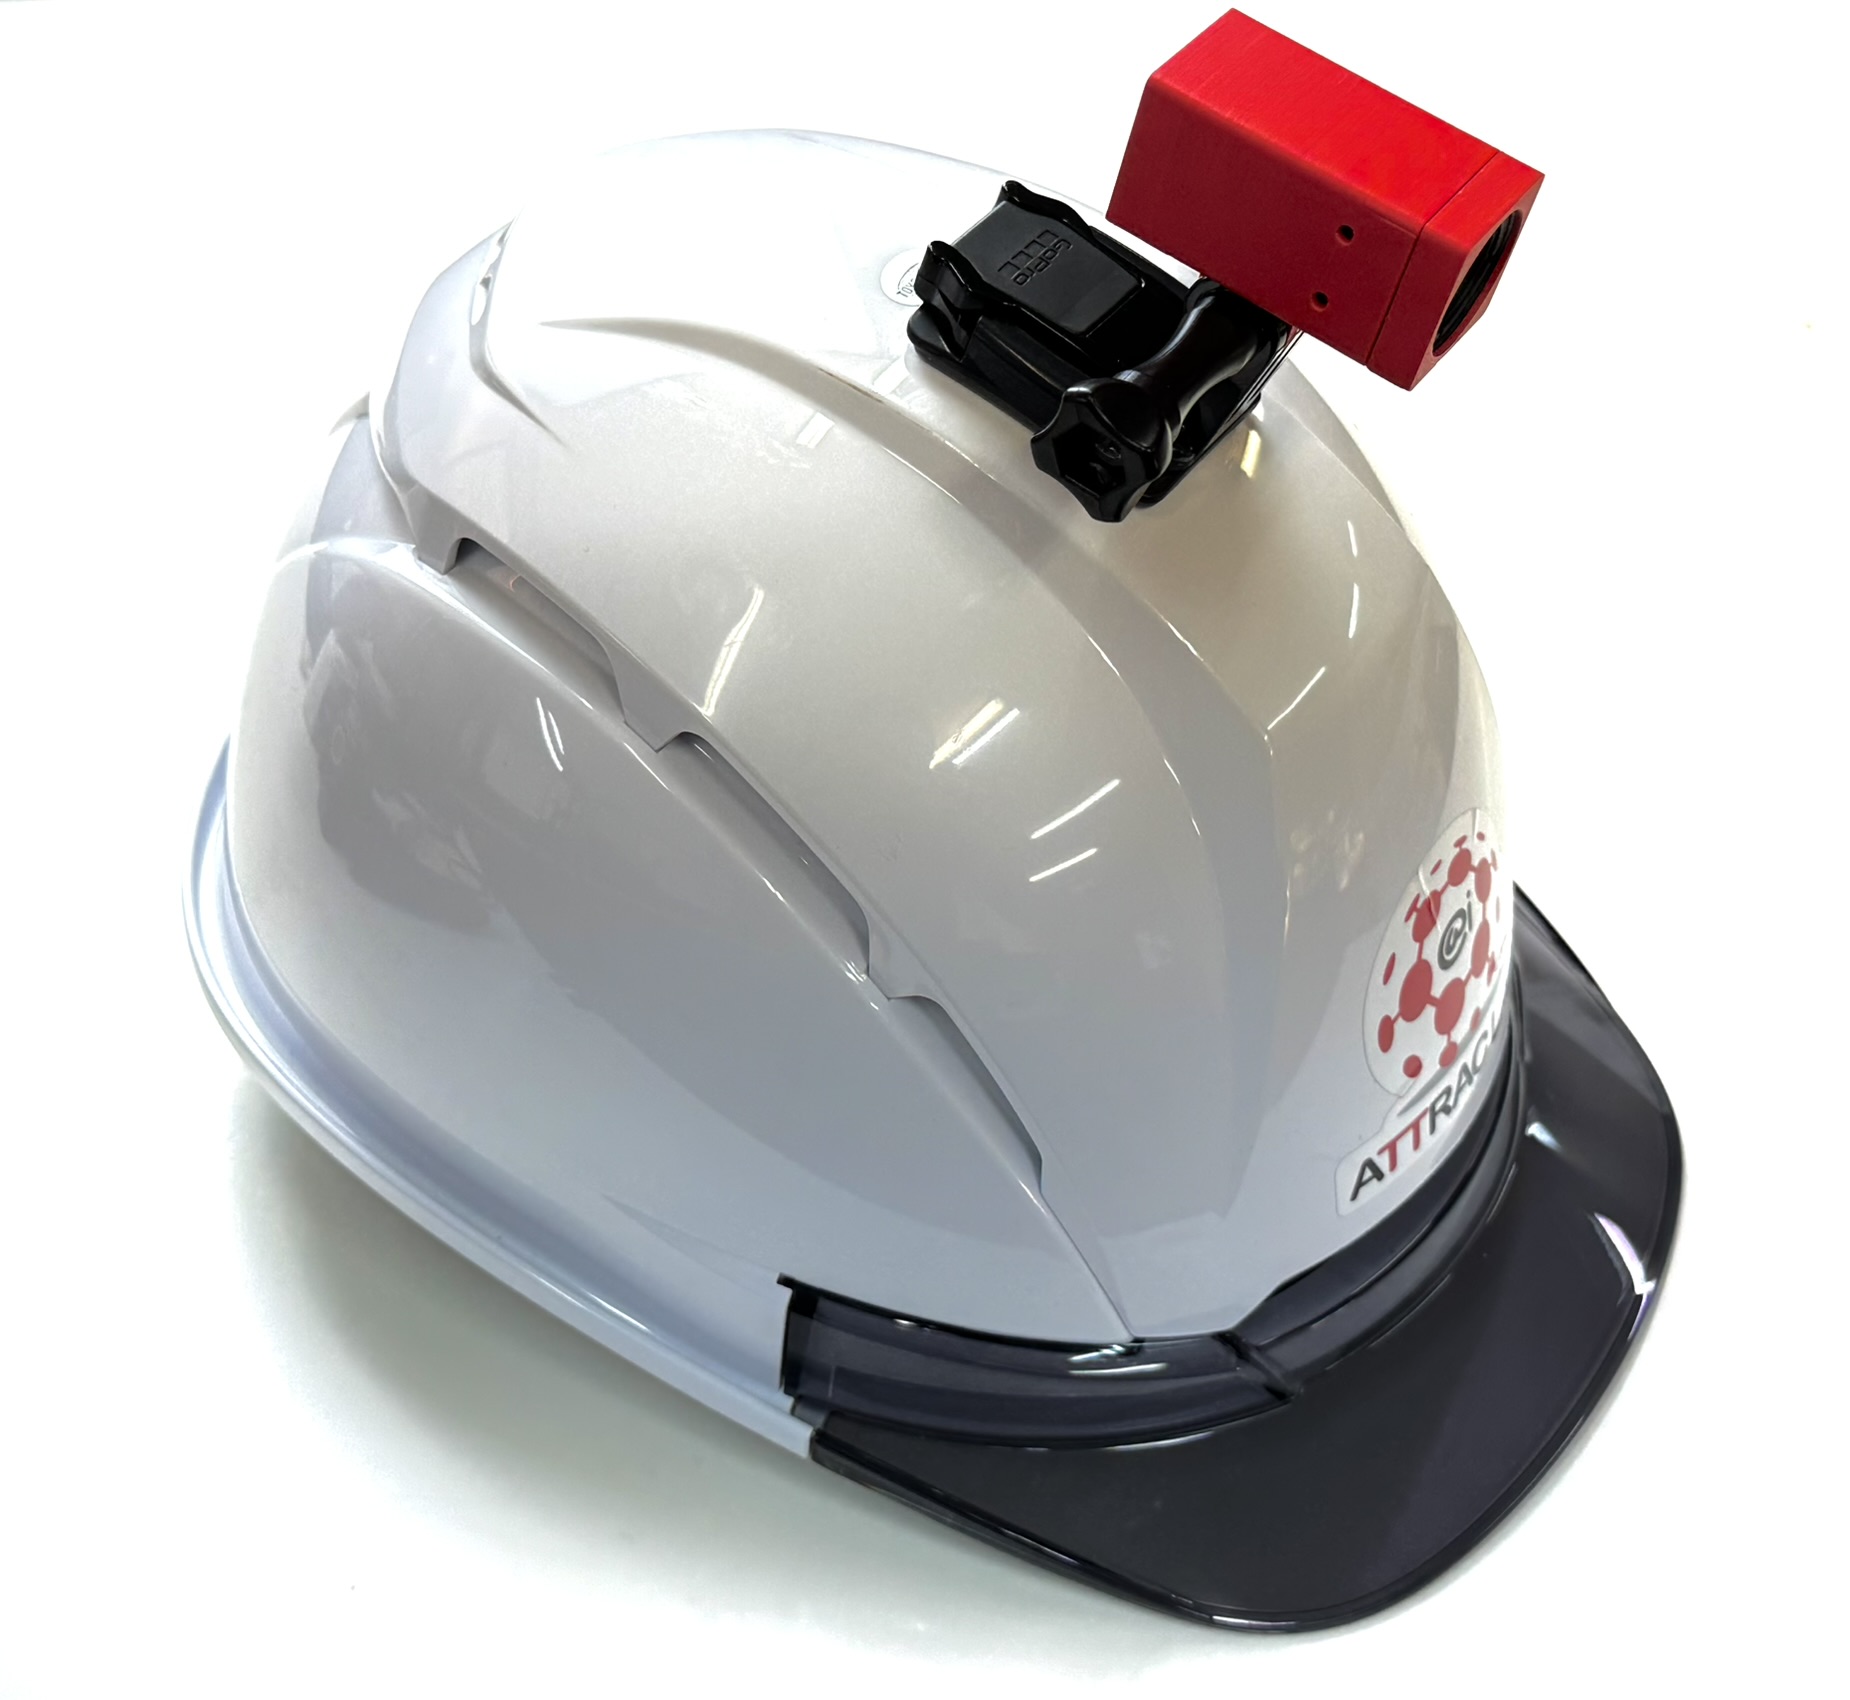
To protect the camera from dust or water drop, 3D printed case is designed to for a cover. The design case could be easily extended to more attachment method like Action Cam mounting style.
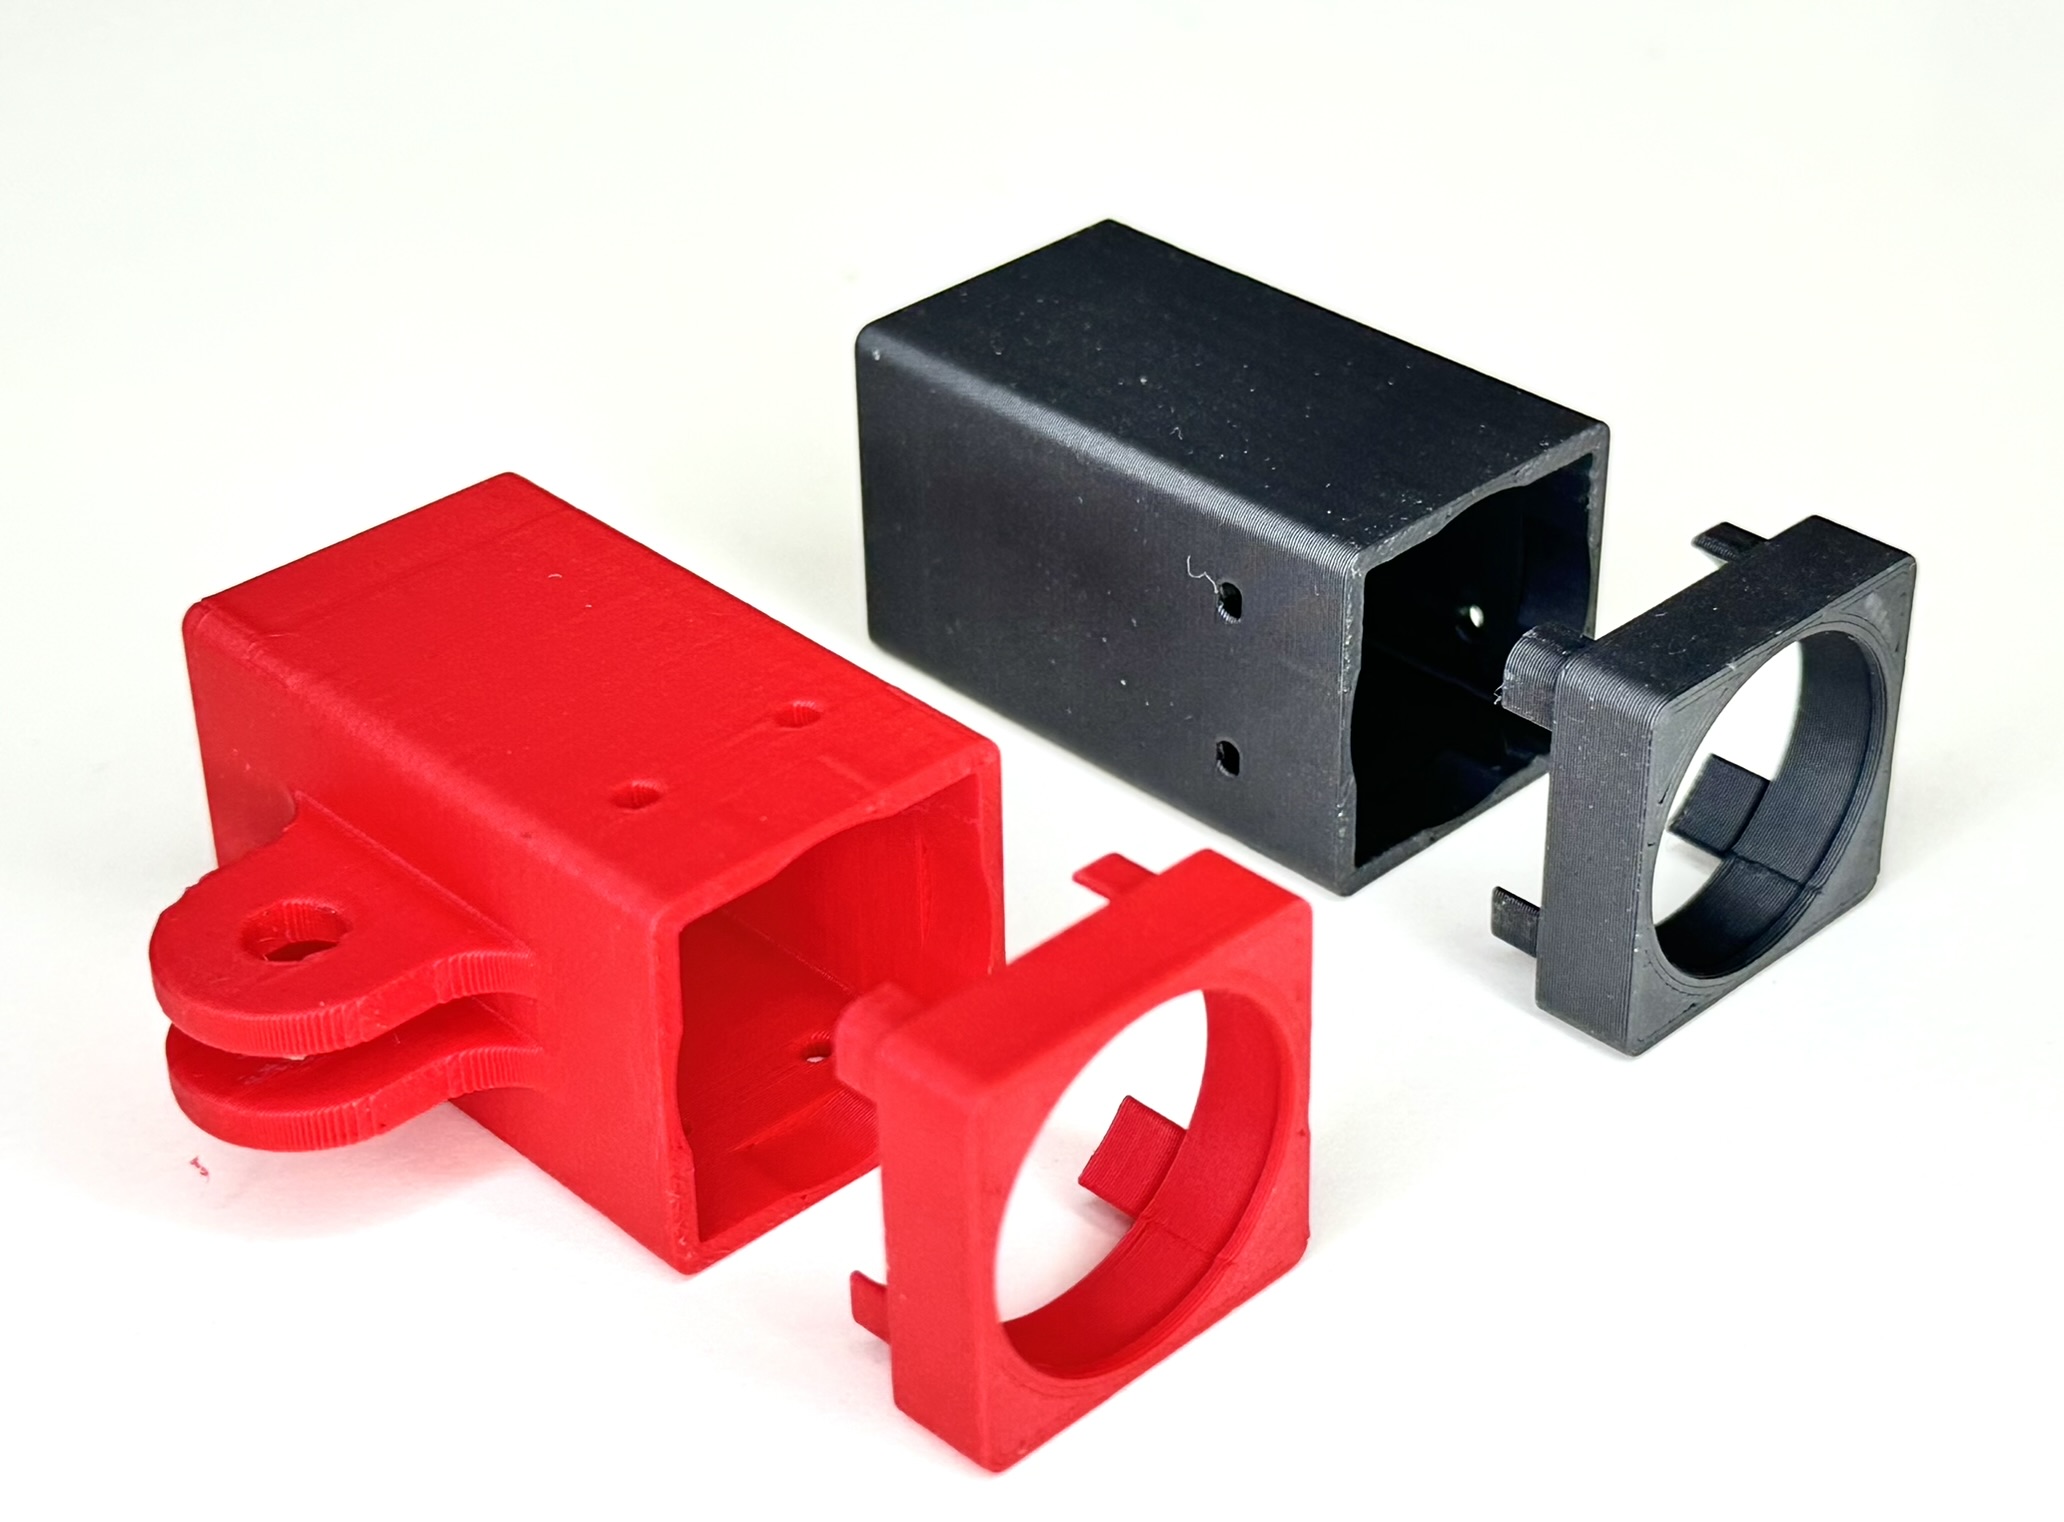
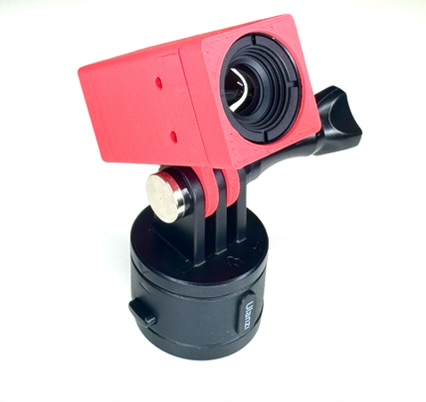
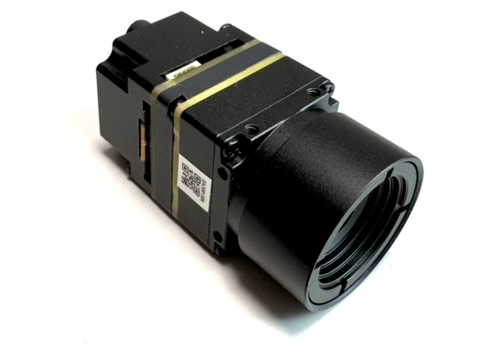
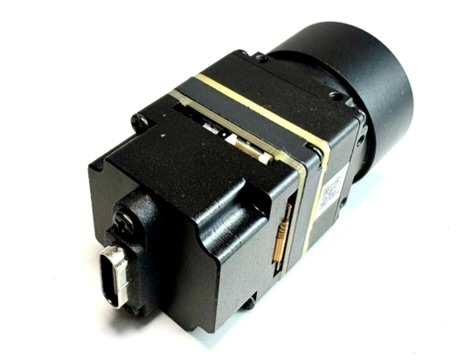
To insert the camera inside this 3D printed case, make sure the camera orientation is correct. The white connector at middle body should be pointing upward, and QR code should be on the right side of camera as shown in the picture below. Then push the camera into the bottom case until fit, the two holes on left-right sides should be align with the camera screw holes. Then push the front cover into the lens, until four corners are tightly fit with the bottom case corners.
Prepare on your side
You will need,
Computer with ubuntu OS and ROS2 installed (galactic or humble is recommended)
USB3.0 type-A to type-C
Install the package
There are necessaries package/library you will need to install in advance,
ffmpeg
sudo apt install ffmpegopencv from source (for C++)
ROS2 cv_bridge
Once you have downloaded the zip file of hik_thermo_cam, then extract and put it in your ROS2 workspace, for example inside ~/dev_ws/src/.
Assuming your ROS2 workspace is ~/dev_ws,
## Make sure the thermal camera is unplugged
## Make udev rules by following commands
cd ~/dev_ws/src/hik_thermo_cam/udev_rules
sudo cp 99-hik.rules /etc/udev/rules.d
sudo udevadm control --reload
sudo udevadm trigger

## Install dependencies
sudo apt install libuvc-dev libusb-1.0-0-dev

## Build package
cd ~/dev_ws
colcon build --symlink-install --packages-select hik_thermo_cam
source install/local_setup.bash
Use the package
Plug USB cable from PC to thermal camera. You could notice there is /dev/video* which is from thermal camera but this video device couldn’t be used as regular webcam from opencv VideoCapture or FFMpeg ffplay.
## Terminal 1

## source ROS2 env, make sure to change the distro name to yours
source /opt/ros/humble/setup.bash
source ~/dev_ws/install/local_setup.bash
export ROS_DOMAIN_ID=0

ros2 launch hik_thermo_cam thermo_cam_loop.launch.py show_hot:=True
This will launch the thermo camera ROS2 node with parameter of show_hot as True.
We can display the ROS2 image of thermal camera with following commands,
## Terminal 2

## source ROS2 env, make sure to change the distro name to yours
source /opt/ros/humble/setup.bash
source ~/dev_ws/install/local_setup.bash
export ROS_DOMAIN_ID=0

ros2 run image_tools showimage --ros-args -r image:=/thermo_cam/image -p reliability:=best_effort
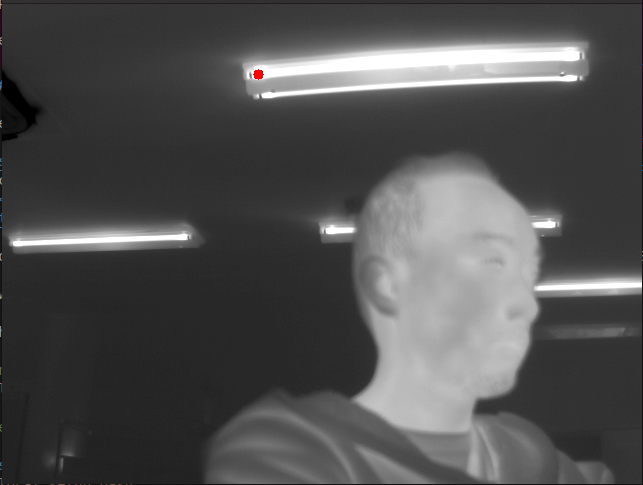
The red dot on the frame is the hottest point. The value of this hottest point could be found from ROS topic,
## Terminal 3
ros2 topic echo /thermo_cam/hottest
The thermal image is in grayscale, but if you would like to see it as RGB image, we could restart the first terminal and run with,
## Terminal 1
ros2 launch hik_thermo_cam thermo_cam_loop.launch.py show_hot:=True color_map:=True
So this will start the thermal camera with color mapping to RGB, coldest is blue, and hottest is red, the red dot of hottest point will be changed to white.

We can switch between grayscale and RGB by publish the ROS topic of /thermo_cam/color_map as True for RGB and False for grayscale.
If you would like to use this thermal camera the same manner as webcam, you will need to start v4l2loopback.
On terminal, run the following command,
## Terminal 4
sudo modprobe v4l2loopback video_nr=40 exclusive_caps=1 card_label="Fake Device"
Note
video_nr is the number of /dev/videoX video device number. card_label is the label of this camera. exclusive_caps is to use this device with WebRTC. For more detail please check on v4l2loopback .
This will allow us to stream the thermal frame into /dev/video40 and you can display it like normaly webcam.
Then on terminal one, restart the ros2 launch command with,
## Terminal 1
ros2 launch hik_thermo_cam thermo_cam_loop.launch.py  show_hot:=True video_out:="/dev/video40" color_map:=True
You can stop the terminal2 of imagetools node, then you can display the frame by,
## Terminal 4
ffplay /dev/video40
The thermal frame should be displaying like normal webcam.
If you list all the ROS topic, it will be shown as,
## Terminal 5
ros2 topic list

/thermo_cam/color_map
/thermo_cam/draw_max
/thermo_cam/draw_min
/thermo_cam/draw_range
/thermo_cam/hottest
/thermo_cam/image
/thermo_cam/image/compressed
/thermo_cam/image/compressedDepth
/thermo_cam/image/theora
/thermo_cam/range_req
/thermo_cam/temp_array
You can adjust the minimum and maximum display temperature by publishing a desire temperataure once on /thermo_cam/disp_min and /thermo_cam/disp_max. The /thermo_cam/temp_array is the 1D array of thermal image, so on your application if you want to get any specific temperature at any pixel, you can reshape this to 640 x 512 2D image and access each pixel temperature value.